In my last two articles I discussed tool making for wax work and machining. This article will focus on methods of modifying the tools we already own in order to enhance our precision. Sometimes the proper tool demanded by a project is one that you need to craft yourself!
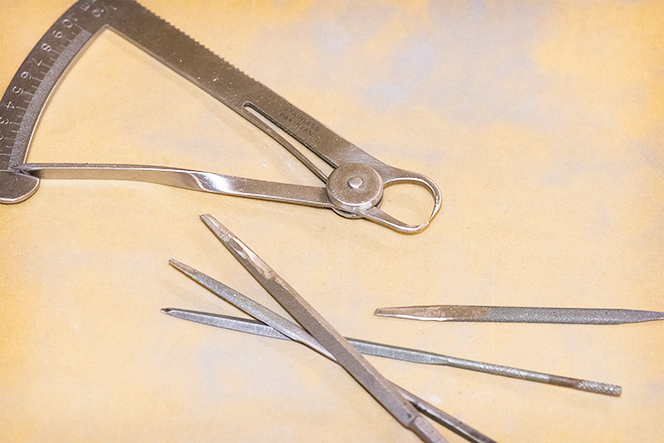
For meticulous sculpting in metal, rubber wheels or polishing points impregnated with grits of varying abrasiveness are frequently used. But what happens when you encounter an undercut or odd angle that just can’t be reached by these popular spinning tools? In these instances, I reach for my files. Ultra fine files can leave a finish ready for patina or a polishing buff. It always helps to have a few extra files on hand to reshape. I have a handful of files that I have ground down in order to access thinner spaces. Others have been ground both thinner and narrower to enable the smallest opening to be finished accurately and beautifully. Likewise narrowing the jaws of a leverage gauge can add to precision when crafting smaller items. This simple fix can be invaluable for countless tiny projects.
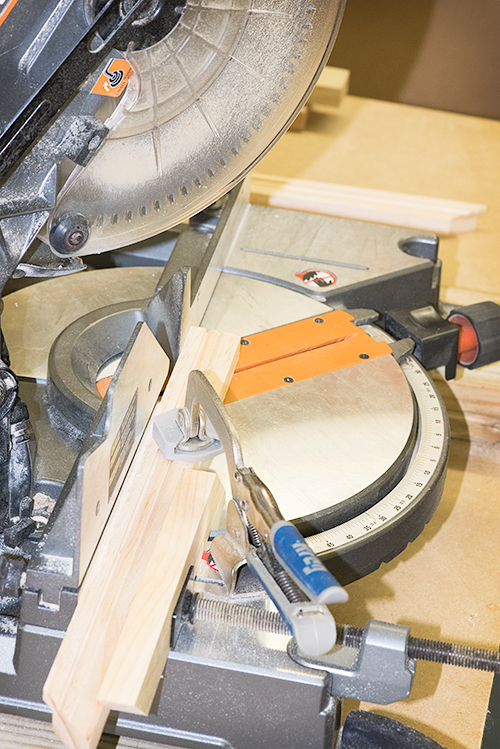
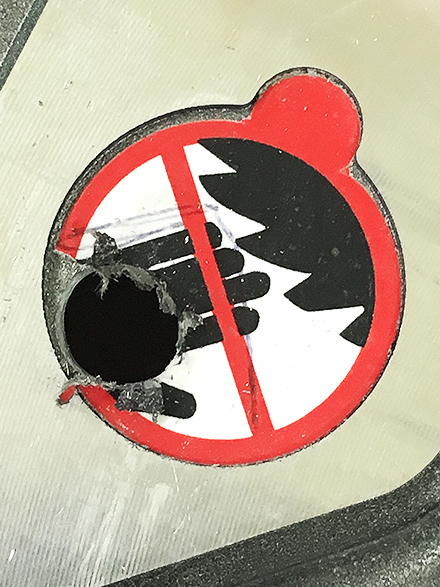
This next modification is one that I must preface by stating that you should not try this at home. It involves a miter saw and because miter saws are dangerous I cannot recommend that readers try this themselves. I had originally purchased my miter saw for a construction project. I got a pretty nice one, but did not have picture frames in mind when I picked it out. The saw itself came with one clamp that pushed the edge of the board back against the fence. With no experience in framing, but much in precision work, one day I decided to learn how to miter wooden picture frame molding. I picked up a top of the line 80 tooth blade and got to work. I had not initially realized the importance of clamping for precision and was not achieving what I had hoped right off the bat. However, a trip to Woodcraft Supply gave me all the answers I needed! The staff at our Roanoke location is wonderful. They are thrilled to share their knowledge and offer all sorts of solutions to any woodworking predicament. Its certainly refreshing and enjoyable to do business with knowledgeable and enthusiastic staff! They explained that the saw would actually pull the molding slightly as it cuts. Therefore in order to achieve an exact angle it is absolutely necessary to clamp both to the back fence and to the table of the saw. My saw had one clamp, but it offered no way to clamp work down. The table of the saw was nothing more than a casting and did not have a smooth back to accept a C clamp. Woodcraft Supply is, of course, like a candy store for the creative and they have about every gadget you can imagine. Among the aisles, and upon recommendation, I found a clamp that could be affixed to a table. It is far higher in quality than anything that would have come on a standard miter saw. When I got home I carefully assessed the table of the saw, making careful note of the shape of the underside of the casting. I then simply drilled a hole in the table and bolted the clamp down allowing a little play for it to pivot. The set up works flawlessly! I couldn’t ask for a better system to trim molding. Admittedly I did appreciate some humor behind the location of the hole I drilled in my saw. A safety sticker featuring a hand under a miter saw blade with a big red line through it was set in a slight depression. It just so happened to be in the perfect location for my new clamp. I ended up drilling a hole straight through the little animated hand!
Again, I do not advise that readers make any modifications to their own power tools. Safety is always a paramount concern and I would never undertake a project that would compromise my own safety or the safety of my tools.
Often times creating the artwork itself requires creativity in both the design of the project itself as well as the tool used to craft it!